
Whether you’re hosting a physical or virtual event, there’s a good chance you’re leveraging Eventbrite as your event sign-up tool. Although Eventbrite does a great job at enabling you to send confirmation and reminder emails, it’s limited from a customization standpoint. This article is going to discuss how and why you should leverage automation and link Eventbrite and Mailchimp with Zapier.
By enabling automation within your business practices, you’ll be able to save time by creating workflow rules and logic that deliver a personalized experience to your target audience (in this case, your event attendees).
This discussion will go through three separate tools, with the goal of tying them all together:
- Eventbrite (your event sign-up and information page)
- Mailchimp (your email marketing software for personalized email)
- Zapier (a tool that helps you integrate Eventbrite and Mailchimp without having to code)
Allowing these tools to work together is going to make your life easier, and the customer-experience better for your audience.
More specifically, we’ll break down key steps that’ll help you get the integration set up in order to start automating personalized emails to your upcoming event attendees.
- Understanding triggers and events
- Linking Eventbrite and Mailchimp (with Zapier)
- Tagging your audience
- Testing your automation rules
Let’s get started.
- Understanding Triggers and Events

The trigger is what is going to kick off the automation that you’re ultimately trying to accomplish. Zapier refers to it as a ‘Zap’. So in this case:
Attendee registers/signs up for an event > Attendee is then imported to a specified Mailchimp list with > Personalized email is then sent out to the attendee (this will have been created within your Mailchimp account)
The trigger is the first step that kicks off a series of events to determine what happens next in your automation, so before starting it’s important to be clear on:
- What your ultimate goal is (sending a personalized email out)
- What event will trigger that ultimate goal

Now that we have a better understanding of what the triggers and events are, choose the option that best fits your goal.
So in this case, the trigger stems from an Eventbrite sign-up, and the app event will be in Mailchimp.

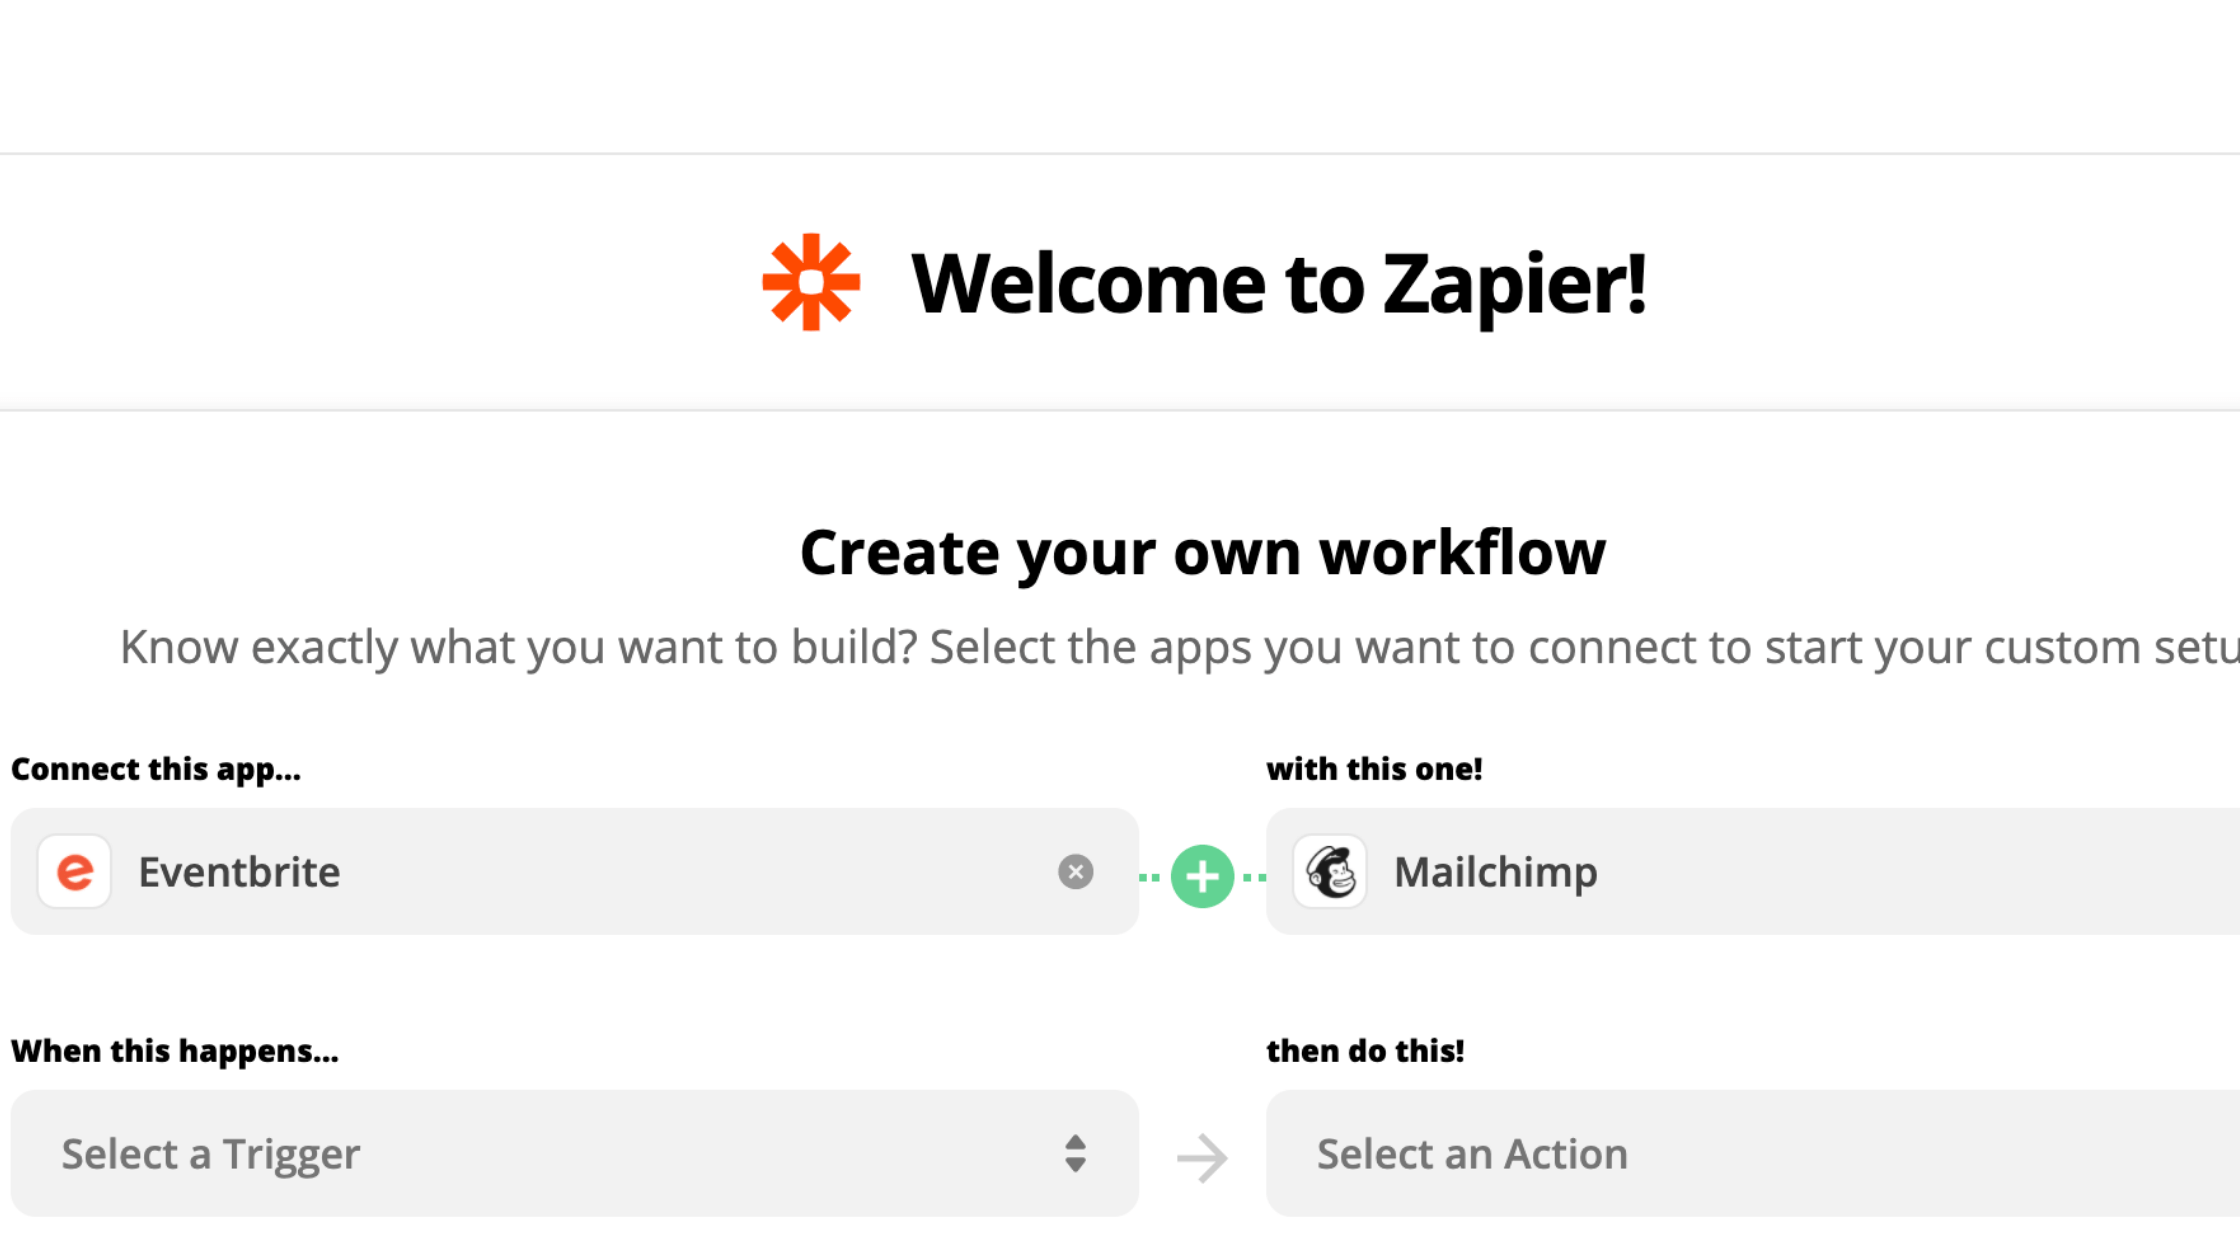
2. Linking Eventbrite and MailChimp

Within Zapier, start by creating a connection that allows the two tools to speak to one another. This will help you set the logic that kicks off your emails after a sign-up (we’ll discuss logic more a bit later).
You don’t need to know how to code. Within Zapier, you’ll have the option to simply login with your email address and password that’ll connect you to the additional tools. You’ll now be leveraging a secure connection between the apps.
Once the link is set, you’re going to start with the event that kicks off the entire process; In this case, your customized email from Mailchimp is kicked off once a new attendee signs up/registers for your event.
Enabling these two tools (Eventbrite and Mailchimp) to work in synchrony is critical to effectively leveraging personalized automation for your sign-ups.
3. Tagging Your Audience
One last piece that’s important to consider is how the tagging system works within Mailchimp. So everything we’ve done so far has enabled us to take sign-ups from Eventbrite and move their contact information into Mailchimp.
Now we’ll want to ensure that they’re appropriately tagged within our email marketing software so that the appropriate automated emails are kicked off.

We’d recommend setting up a test campaign in Mailchimp so that you don’t accidentally send emails to your existing audience.
Within the test campaign, the tag that sends an audience the email from a sign-up is labeled as ‘Event Signup’.

This means that you’re establishing a certain set of criteria that allows the emails to be sent out to your audience. The workflow will look like this:
You establish your tag in Mailchimp for your event sign-ups > You set that same tag in Zapier > Contacts are automatically added to the appropriate campaign

4. Testing Your Automation Rules and Publish
It’s showtime. Once you understand what event is going to kick off the automation, and the ultimate goal of your automation, it’s time to finally test the connection between the two tools and ensure that it’s working appropriately.

If your accounts are linked properly, it will pull a number of recent sign-ups for you to use as testing points. These testing points will have data variables that allow you to populate the fields from the sign-ups and transfer the data directly to your Mailchimp account (this greatly helps with the personalization of emails).
It’s best to test using either yourself or a colleague to ensure that there aren’t any errors that a potential attendee might receive.
Once you’ve confirmed that your event trigger is getting you (or in this case, Zapping you) to your desired result, launch the ‘Zap’ and let the automation begin!
Continue to Develop and Enhance Automations
An ongoing theme within our discussions is that you’re never officially done. Rather, you should continually strive to enhance your digital marketing efforts in a manner that best serves your business, and your target audience.
As an example, one way that you might make this piece of automation even better is by creating an integration between your sign-ups and a Google Excel Sheet that can be shared with your sales team. By doing this, all sign-ups will be imported into an excel sheet that your sales reps can track, and follow-up with both before and after the event that you’re hosting.
Although this example is a separate automation, it still serves the purpose of better serving both your organization and customer.
- Your organization as a whole can now track sign-ups and ensure they receive the proper attention
- The target audience receive personalized correspondence and has a direct point of contact (sales rep) to speak with if they’re interested
Let us know how you’re leveraging automation with your digital marketing strategy, or if you need some help implementing it to better serve your target audience.

Gary McConnell Co-founded Rubicom Digital in 2019 with a goal of providing digital marketing consulting services in the B2B space.
Gary continues to serve as the Marketing Director of a Data Center-focused IT Provider, VirtuIT Systems.